This process is suitable for the winding of low voltage foil winding of three-phase oil and dry-type transformer with voltage level 10KV capacity 200-2500kva and 630-6300kva.
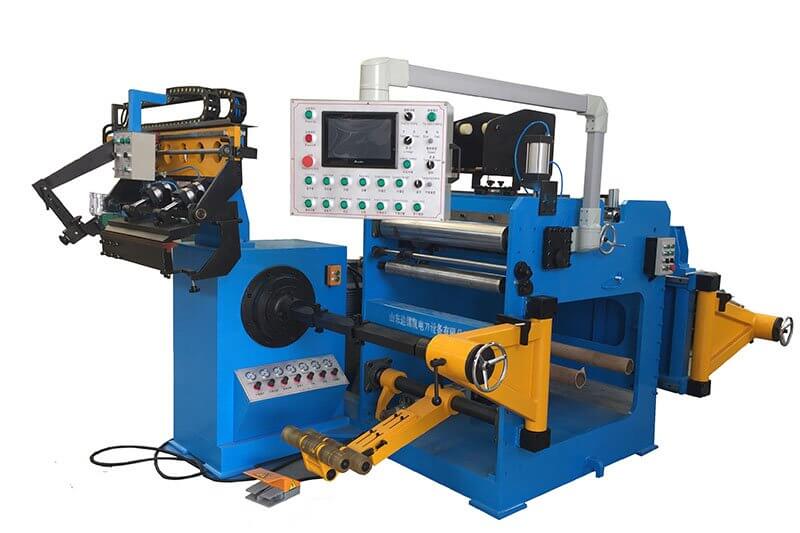
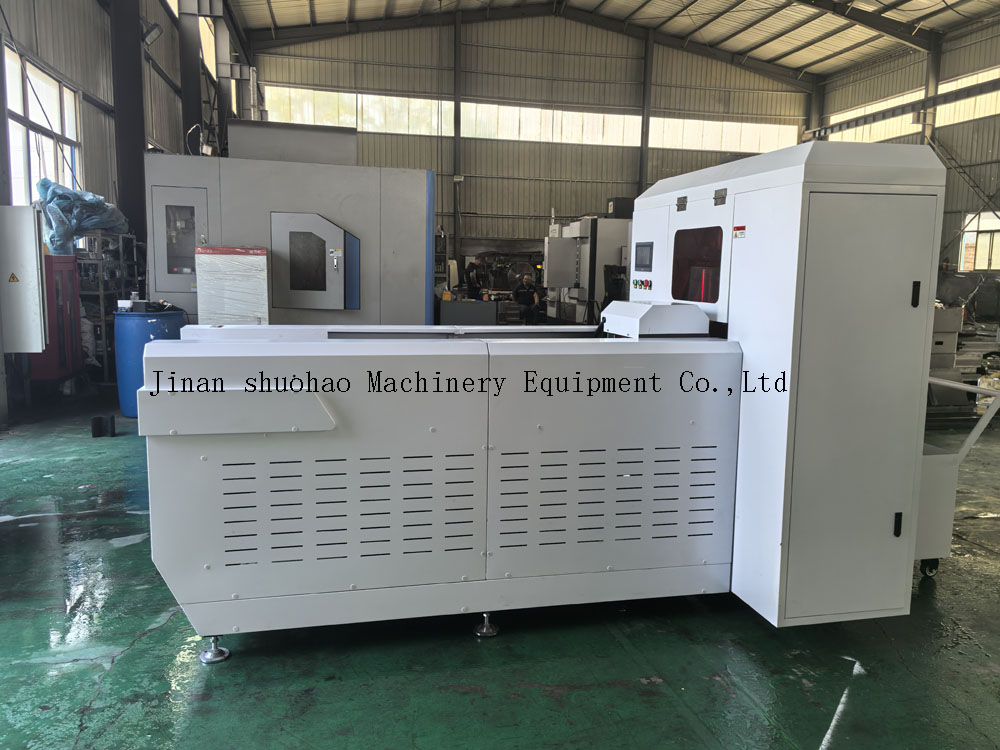
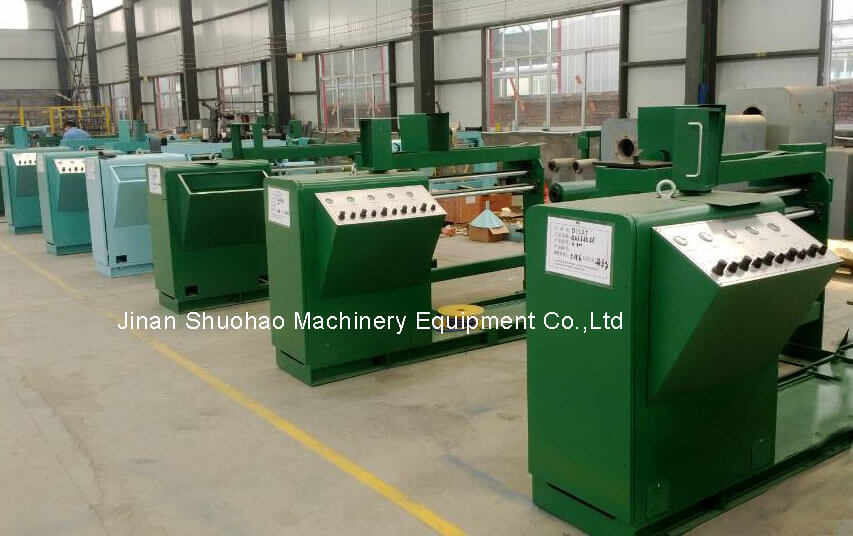
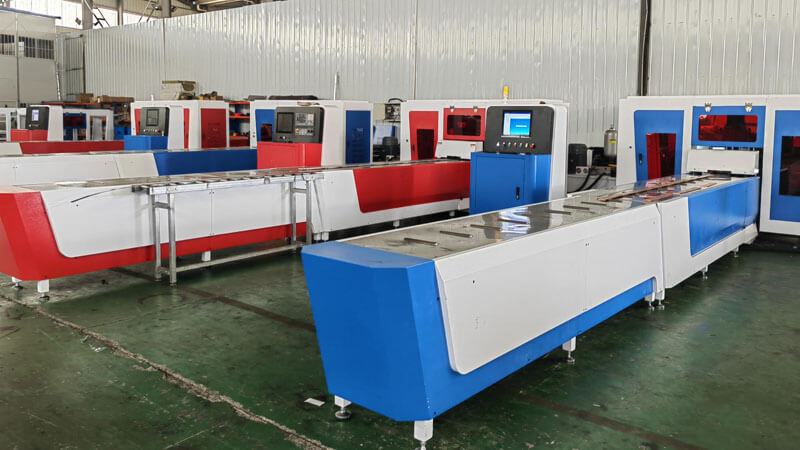
2. Main equipment
Foil winding machine, argon arc welding machine, air compressor, crane
2.2 Tooling, tools
Coil special lifting tool, winding mold, industrial argon, pliers, small hammer, file, wire brush, square ruler, rubber hammer, wrench, outer caliper, tape measure, cloth scissors, oily marker
3. Materials
Copper (aluminum) foil, copper and aluminum busbar, emery cloth, layer insulation, end insulation, 0.05 polyester film
4. Preparation
4.1 Familiar with the coil pattern, clarify the technical requirements, and consider the operation essentials of the coil structure.
4.2 Prepare the required materials and tools according to the drawings, and check whether the equipment used is normal and correct before winding.
4.3 Prepare the winding mold and fix the low-voltage winding mold on the bobbin.
5. Process
5.1 Brush a layer of release agent on the winding mold
5.2 A 0.05 film of polyester film is placed on the winding mold
5.3 Tungsten arc welding with low pressure inner lead wire copper and aluminum row
Difficulties: How to weld? How to achieve Perfect weld?
When use AC,and when should use DC?
Ideal aluminum weld
Aluminum welded in DC with argon
AC balance set too high
5.4 Pull back the copper aluminum foil, put the low-voltage inner lead-out copper-aluminum wire into the winding mold slot and fix it to start winding the coil.
5.5 Continue to follow the pattern of copper aluminum foil, layer insulation, and end insulation.
5.6 Shear insulation and end insulation, use layer H tape to fix the layer insulation and end insulation ends.
5.7 Push the trolley under the coil and slowly raise the trolley when the rubber on the trolley contacts the coil.
Loosen the shaft, remove the coil from the mandrel and clamp the coil radially and outward with a special tool.
5.8 Hang the coil on a special pallet with a crane and a sling. After adjusting the position, put the temporary pressure plate on the coil and clamp it up and down, then mark the number on the coil.
6. After the coil is wound, check each item according to the pattern, and use a 500V shaker to check if there is a short circuit between the lines.

This is nice article you shared great informationIi have read it thanks for providing such a excellent Blog.
King regards,
Thomassen Raahauge
hi,Thomassen
thank you for liking our blog, which also increases our confidence in continuing to share such information. If you have any suggestions, please feel free to contact us!
Appreciation to my father who told me regarding this webpage,
this blog is genuinely amazing.