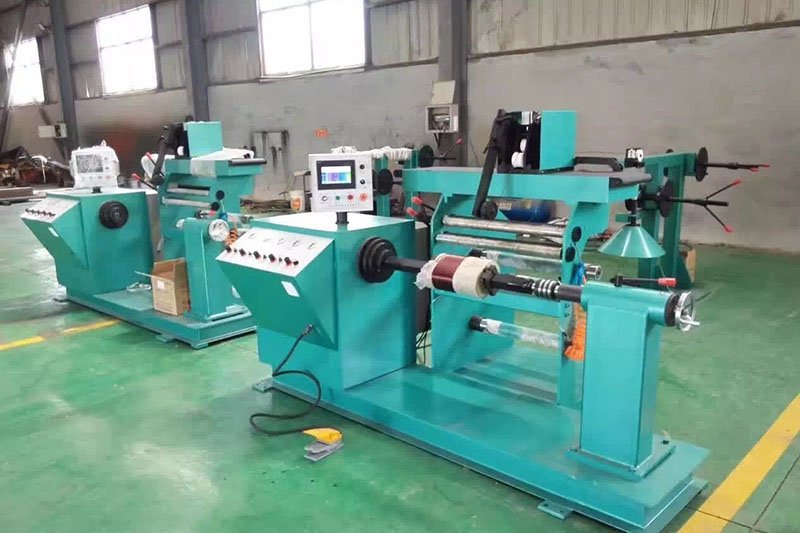
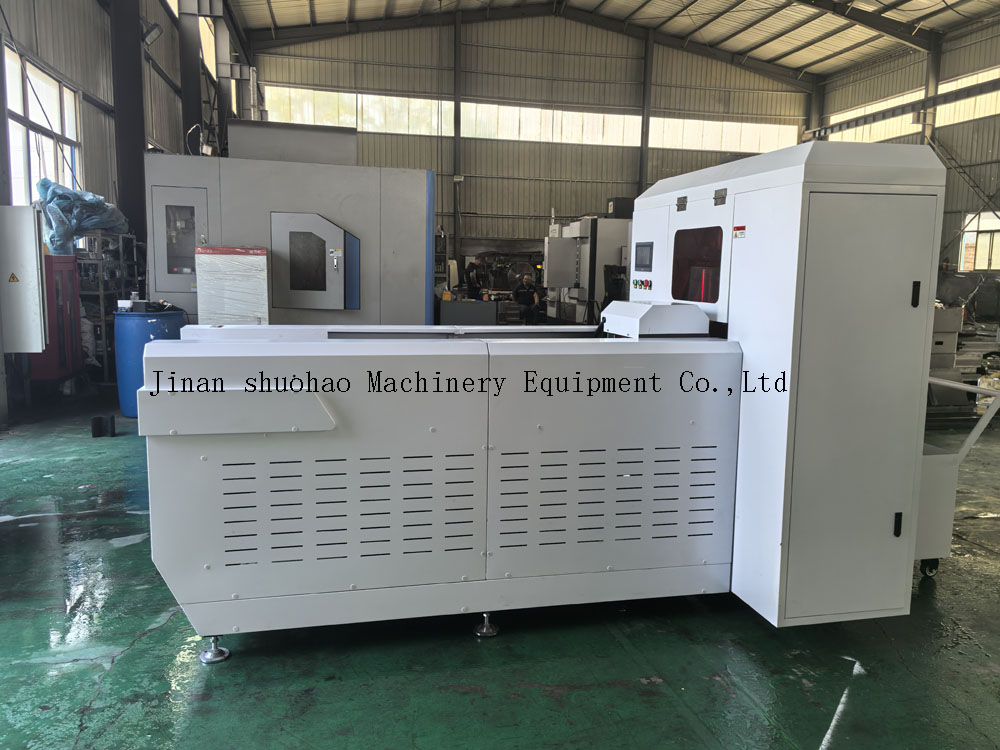
Transformer HV Winding Machine is a special equipment for winding transformer coils. In the winding process of transformer coils, we usually divide the winding equipment according to the transformer voltage level or capacity. Automatic wire winding machine and foil coil winding machine; there are vertical winding machine and horizontal winding machine for winding large power transformer coils. This artical will tell you how to wind and operate transformer winding machine.
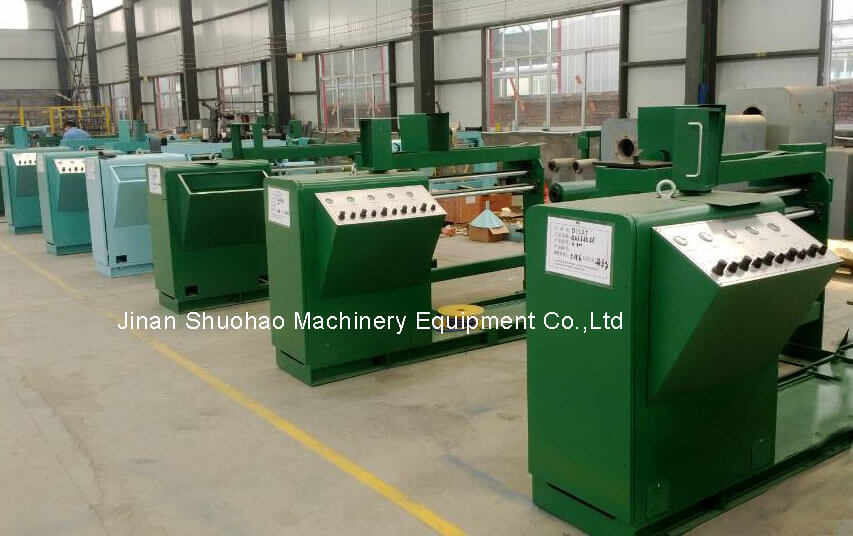
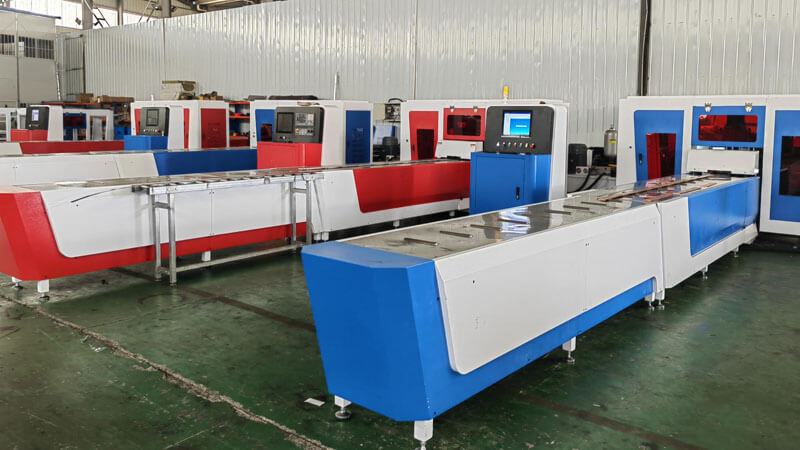
1. Transformer HV Winding Machine and tools
Shelf for winding machine and fixed reel. Winding molds and baffles corresponding to products. Scissors, wrenches, needle-nose pliers, wooden hammers and other tools. The corresponding drawing file.
2. Materials
Double glass fiber covered wire or enameled wire that meets the requirements of the drawings.
Skeleton board, insulating film paper, ventilation strip, white gauze tape, glass fiber cloth tape, insulating duct, transparent adhesive tape.
Winding molds, wires, insulation film paper and ventilation strips and other materials prepared according to the drawings.
3.Preparation before winding
Check the winding machine before use: normal rotation, reverse rotation, etc. are normal.
If there is any doubt, we should notice to the person in charge of the production department in time.
4. Winding process for Transformer HV Winding Machine
Install the mold, baffle plate, and skeleton plate separately, and tighten with a wrench.
Wrap three times around the bone plate with insulating film paper that is consistent with the length of the mold.
Stick it with transparent adhesive tape so that it does not loosen.
Thread the thread through the baffle and reserve the length of the thread as required.
Wear an insulated conduit suitable for the wire gauge.
The length of the duct outside the baffle shall not be less than 60mm.
-
Coil tap
The tapped coils should be tapped according to the order of the drawings, and the taps should be arranged in sequence.
Special attention should be paid to the number of turns;
the catheter guides the two wires of the tap together and directly to the root of the tap, leaving 60mm for the baffle For the catheter on the outside, the remaining length of the tap line is reserved as required.
In order to ensure that there is no short circuit between turns at the fold line of the thread, two layers of glass cloth or polyester insulating film should be wrapped at the position of the fold line.
If the drawing requires the tap gauge to be replaced with a wire gauge, the large wire of the tap lead wire should be longer than the small wire, and note that the size of the wire gauge should match the drawing.
If a joint appears during the winding process, it is used as an external connection within 8mm, and is cut at 80mm outside the baffle.
-
Ventilation strips
Ventilation strips should be placed on the four corners of the coil.
Put a ventilation strip on it, wrap it around a few turns, and hit it with a wooden hammer on each side of each four corners of the coil, so that the ventilation strip will not slide, and then continue to wind.
When winding the secondary coil (coupling coil), first wind the primary wire.
After the primary wire is wound, level it first and then wrap three and a half layers with a polyester insulating film and stick the seam with transparent adhesive tape.
Pad up and wind the secondary wire to electrically isolate the primary wire from the secondary wire.
-
Cable tie
The shortest distance between the two types of wires is not less than 3.5mm
it consider as qualified for winding processing.
When winding the last few turns of the coil, a cable tie (white yarn tape or catheter) should be placed to facilitate the tightening of the end of the wire.
The cable tie should be tightened at two positions.
The end of the wire should be led to the insulating conduit in the same way as the end of the wire.
After the coil is wound, it is leveled, then the coil is removed from the mold, the excess head of the cable tie is cut off, and the coil is placed in the specified position.
The storage location should be protected from moisture and dust.

https://waterfallmagazine.com
I am really delighted to read this webpage posts which contains tons of valuable information, thanks for providing these kinds of statistics.
I am actually pleased to glance at this blog posts which includes tons of
helpful facts, thanks for providing such
information.
I am genuinely thankful to the owner of this web site who has shared this
enormous article at at this time. 0mniartist asmr
My family always say that I am wasting my time here at net, except I know
I am getting know-how everyday by reading such nice posts.
0mniartist asmr